Create your own #Jitsi *and* #XMPP instance

So the best, and quickest, way to get your own Jitsi instance is to follow this instructions:

https://dev.to/noandrea/self-hosted-jitsi-server-with-authentication-ie7

As far as I can tell there is no such easy peasy way to have it running in CentOS, and I won’t be diving into it for the moment although I certainly intend to do so in the future, but I think it’s very much worth it to just build upon those instructions in order to set up (what would seem to me as essential for the free federated communication world) an XMPP instance that already is built-in in your Jitsi server!

  1. If you only want the video conference part, you only need 443/tcp (https) and 10000:20000/udp and you can skip the rest of this blog entry. You don’t need to enable http as it only redirects into https, and if you don’t plan on allowing remote public ssh you don’t have to enable it either. That’s just there as a helpful reminder in case you just created a virtual machine on some VPS provider and so you don’t get locked out by accident;
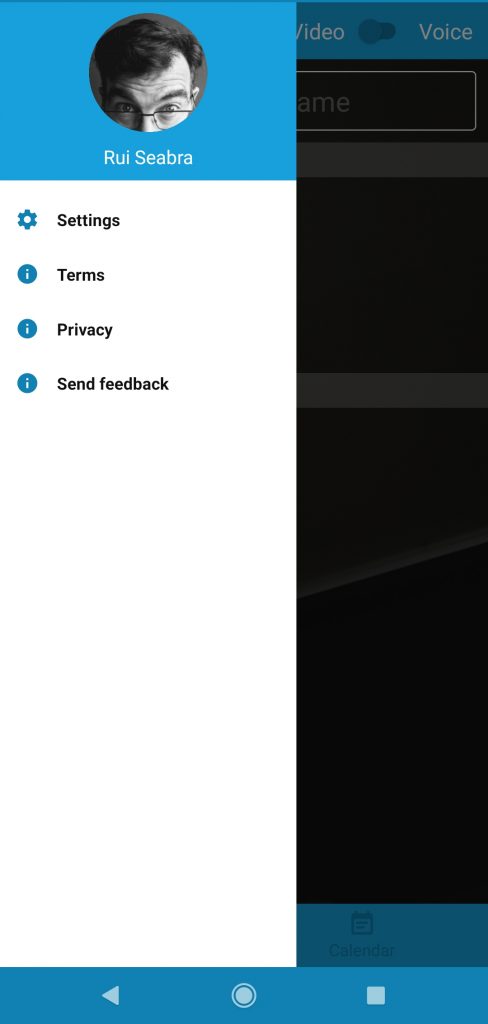
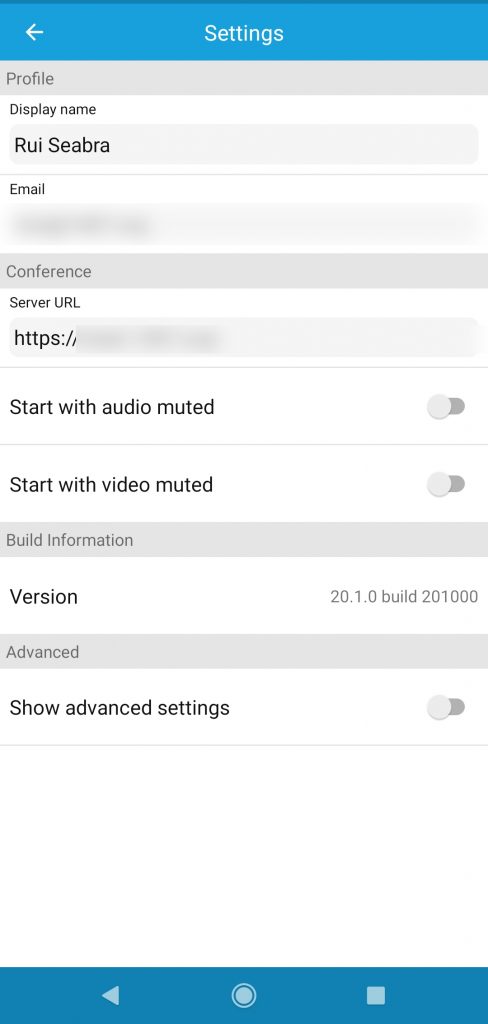
  2. But if you’d like to have your own instant messaging server, you can additionally follow the instructions below in order to expose Jitsi’s integrated XMPP address as well, and your identity will be your.user@your.jitsi.website

So you start by setting up additional permissions you’ll be needing in order to re-use the same Let’s Encrypt certificate managed by certbot:

cd /etc/letsencrypt/
chmod a+rx live live/*
chmod g+rx archive
chgrp -R ssl-cert archive
chmod g+s archive archive/*
chmod g+r archive/*/*key*pem

You’ll also have to change prosody’s certificates in order to use the correct ones, and then restart it:

cd /etc/prosody/certs
ln -sf your.jitsi.website.crt /etc/letsencrypt/live/your.jitsi.website/fullchain.pem
ln -sf your.jitsi.website.key /etc/letsencrypt/live/your.jitsi.website/privkey.pem
systemctl restart prosody

Finally, you’ll need to open prosody’s port in the firewall as well:

ufw allow 5222/tcp

That’s it. Now you have your Jitsi video conference properly integrated with XMPP/Jabber, neat hey?

PS: Oh, a minor but relevant update… use the following ufw rule rather than the correspondent one in the article above to be able to allow multiple UDP streams for the video conference, as TCP and only one UDP port will be a bit painful…

ufw allow 10000:20000/udp

How to connect to a different Jitsi site

So you have now setup your own Jitsi site, or you want to connect to your friend’s Jitsi site. How to do it?

If you’re using a computer, it’s simple: all you need is to type the address of the website and room in your browser’s url bar: https://your.jitsi.website/SomeFancyRoomEatingIcecream

But if this was all to it, then it would be a very boring short blog. 🙂 What about the app?

At least for the Android version, Jitsi Meet doesn’t make it easy to change the server, although it’s quite easy, it could be a lot simpler.

Just press the “menu” button (the three horizontally stacked bars on the top left part of the Jitsi Meet app window):

Choose Settings:

Then choose your display name and, most importantly, the website (without any room reference, just the root):

Done. Now go back and write your desired room name.

That’s it, that’s really just all there is to it.

Now go and have fun. 🙂

#Keto Recipe: the best roquefort cheese hot scrambled eggs

Today I’m going to share with you a powerful fat bomb meal very friendly to people living a healthy keto diet, a scrambled eggs recipe I’ve been having sometimes that just takes me to heaven.

I known you have to like some of these ingredients, specially roquefort cheese which is not legally available in the USA because of unhinged law makers although you may be able to find it at some place under the counter (if you wink-wink, nudge-nudge the right way of course). Sorry guys, try other replacements, it may still be good for you!

Here it goes, first the ingredients (remember to get the most from so called organic, grass fed, free range,or whatever… sources that are less likely to have the sweet poison of sugar or other potentially dangerous chemical additives):

  • 3 eggs per person (or for two if you eat less, or for many if you share as an appetizer)
  • emmental cheese
  • roquefort cheese
  • hot sauce (make your own, preferably), I like it quite hot
  • a pinch of salt
  • coconut oil (cold extraction)
  • salted butter
  • and optionally, bacon (in this case I had to finish three slices of bacon before they went bad, but the meal is quite awesome without it too)

Start by preparing a good amount of diced emmental cheese:

The, cut a good slice of roquefort cheese…

… and dice it into small pieces:

Then, open your eggs into a cup (one by one in a helper glass, check their smell) and add both a pinch of salt as well as as much hot sauce as you want (I used two tea spoons of my own):

Give them a good vigorous wisk until it’s all very well mixed together:

Finally put a decent amount of butter like between 20 g and 30 g (a good butter to buy in Portugal is Milhafre dos Açores) and a tablespoon of coconut oil in a frying pan:

Now that you have everything ready…

… it’s time to put the frying pan on strong fire and let it melt, mix, and get a quite hot:

At this point, I added my slices of bacon, let them fry a bit and then set them on a plate aside:

Then I poured in the eggs and let it solidify just a bit:

It’s now time to lower the fire, break these eggs and spread the emmental cheese:

Now spread the roquefort cheese over (if you had mixed the roquefor cheese along with the eggs, you’d get green eggs, maybe not very appetizing):

Let the cheeses melt a bit (you can probably cover the pan in order to let them melt better than in these photos) and serve to a dish preferably with the eggs still bit runny, either on top of (easier) or under (looks nicer) the bacon slices we saved up earlier:

It’s now ready for eating straight away and while it’s still hot.

Enjoy the yumminess!

Simple experiment with systemd-networkd and systemd-resolved

In my previous post, I wrote about how simple it was to create containers with systemd-nspawn.

But what if you wanted to expose to the outside network to a container? The rest of the world can’t add mymachines to /etc/nsswitch.conf and expect it to work, right?

And what if you were trying to reduce the installed dependencies in an operating system using systemd?

Enter systemd-networkd and systemd-resolved

Firstly, this Fedora 25 host is a kvm guest so I added a new network interface for “service” were I created the bridge (yes, with nmcli, why not learn it as well on the way?)

nmcli con add type bridge con-name Containers ifname Containers
nmcli con add type ethernet con-name br-slave-1 ifname ens8 master Containers
nmcli con up Containers

Then, in container test, I configured a rule to use DHCP (and left in a modicum of a template for static addresses, no… that’s not my network) and replaced /etc/resolve.conf with a symlink to the file systemd-resolved manages:

cat <<EOF > /etc/systemd/network/20-default.network
[Match]
Name=host0

[Network]
DHCP=yes
# or swap the above line by the lines below:
#Address=192.168.10.100/24
#Gateway=192.168.10.1
#DNS=8.8.8.8
EOF

rm /etc/resolv.conf
ln -s /run/systemd/resolve/resolv.conf /etc/resolv.conf

Finally, I enabled and started networkd and resolved:

systemctl enable systemd-networkd
systemctl enable systemd-resolved
systemctl start systemd-networkd
systemctl start systemd-resolved

A few seconds later…

-bash-4.3# ip addr list dev host0
2: host0@if29: <NO-CARRIER,BROADCAST,MULTICAST,UP> mtu 1500 qdisc noqueue state LOWERLAYERDOWN group default qlen 1000
 link/ether 06:14:9c:9e:ac:ca brd ff:ff:ff:ff:ff:ff link-netnsid 0
 inet 192.168.10.92/24 brd 192.168.10.255 scope global host0
 valid_lft forever preferred_lft forever

-bash-4.3# cat /etc/resolv.conf 
# This file is managed by systemd-resolved(8). Do not edit.
#
# This is a dynamic resolv.conf file for connecting local clients directly to
# all known DNS servers.
#
# Third party programs must not access this file directly, but only through the
# symlink at /etc/resolv.conf. To manage resolv.conf(5) in a different way,
# replace this symlink by a static file or a different symlink.
#
# See systemd-resolved.service(8) for details about the supported modes of
# operation for /etc/resolv.conf.

nameserver 192.168.10.1

Happy hacking!

Simple experiment with systemd-nspawn containers

For this test I used Fedora 25. Your mileage might vary in other operating systems, some things may be the same, some may not be.

WARNING: you’ll need to disable selinux so to me this was merely an interesting experiment and it lead to increasing my knowledge, specially in relation to selinux + containers. Bad mix, no security, containers don’t contain, etc.

Many thanks to the nice people from #fedora and #selinux that graciously lent their time to help me when I was trying to use nspawn with selinux enabled. With their help, specially Grift from #selinux, we were actually able to run it, but only in a way I’m so uncomfortable with that I ultimately considered this experiment to  be a #fail as I’m definitely not going to use them like that any time soon: there’s still a lot of work to do in order to run containers with some security. I hope the Docker infatuation leads to an universal solution towards security + containers from the good engineers at Red Hat and others involved in that work.

But it certainly was a success in terms of contributing to more experience beyond a quickly expiring benefit of familiarity with OpenVZ.

Enough words, here’s how simply it was…

Firstly, let’s setup a template from which we’re going to copy to new instances. As I’m using Fedora 25, I used DNF’s capability to install under a directory:

dnf --releasever=25 \
 --installroot=/var/lib/machines/template-fedora-25 \
 -y install systemd passwd dnf fedora-release \
 iproute less vi procps-ng tcpdump iputils

You’ll only need the first three lines, though, the fourth was just a few more packaged I preferred to have in my template.

Secondly, you’ll probably like to do further customization in your template, so you’ll enter your container just like it was (well, is) an enhanced chroot:

cd /var/lib/machines
systemd-nspawn -D template-fedora-25

Now we have a console, and the sky is the limit for what you can setup, like for instance defining a default pasword for root with passwd (but maybe you’ll not want to do this in a production environment).

For some weird reason, passwd constantly failed manipulating authentication tokens, but I solved it quickly by merely reinstalling passwd (dnf -y reinstall passwd). Meh…

I also ran dnf -y clean all before exiting the container in order to clean up unnecessary space wasted with package meta data that will be expired quickly.

When you’re done customizing, exit the container with ctrl + ]]] in about a second.

Finally, we’re ready to preserve the template:

cd template-fedora-25
tar --selinux --acls --xattrs czvf \
    ../$(basename $( pwd ) )-$(date +%Y%m%d).tar.gz .
cd ..

We’re now ready to create a test container and launch it in the background:

mkdir test
cd test
tar --selinux --acls -xattrs xzvf \
    ../template-fedora-25-20170701.tar.gz
cd ..
machinectl start test

This container will probably not be able to run services exposed outside without help but you can login into its console with machinectl login test

You’ll also have automagic name resolution from your host computer to the containers it runs if you change the hosts entry in /etc/nsswitch.conf placing mymachines between files and dns (or as you see fit if otherwise in your setup):

hosts: files mymachines dns myhostname

If you had enable ssh in your container, you’d be able to do ssh test from the host machine. Or access a web server you installed in it. Who knows.

As you saw, despite a lot of words trying to explain every step of the way, it’s excruciatingly simple.

The next article (Simple experiment with systemd-networkd and systemd-resolved) expands this example with a bridge in the host machine in order to allow your containers to talk directly with the external world.

Happy hacking!

Zabbix Postfix (and Postgrey) templates

Today’s Zabbix templates are for Postfix and Postgrey (but separated in case you don’t use both).

Since I run a moderate volume set of email servers, I could probably have Zabbix request the data and parse the logs all the time, but why not do it in a way that could scale better? (yes, I know I have 3 greps that could be replaced by a single awk call, I just noticed it and will improve it in the future).

I took as base a few other examples and improved a bit upon them resulting in the following:

  1. A cron job selects the last entries of /var/log/maillog since the previous run (uses logtail from package logcheck in EPEL)
  2. Then pflogsumm is run on it as well as other queries gathering info not collected by pflogsumm (in my case, postgrey activity, rbl blocks, size of mail queue)
  3. Then zabbix_send is used to send the data to the monitoring server

The cron job gets the delta t you want to parse the logs, in my case it’s -1 as I’m going it per minute and that’s an argument to find … -mmin and you’d place it like this:

* * * * * /usr/local/bin/pfstats.sh -1

This setup will very likely require some adaptation to your particular environment, but I hope it’s useful to you.

Then you can make a screen combining the graphics from both templates as the following example:

Zabbix Keepalived template

I’m cleaning up some templates I’ve done for Zabbix and publishing them over here. The first one is Keepalived as a load balancer.

This template…

  • requires no scripts placed on the server
  • creates an application, Keepalived
  • collects from the agent:
    • if it is a master
    • if it is an IPv4 router
    • the number of keepalived processes
  • reports on
    • state changes (from master to backup or the reverse) as WARNING
    • backup server that’s neither a router or has keepalived routing as HIGH (your redundancy is impacted)
    • master server that’s neither a router nor has keepalived routing as DISASTER (your service will be impacted if there’s an availability issue in one real server as nothing else will automatically let IPVS know of a different table)

I still haven’t found a good way to report on the cluster other than creating triggers on hosts, though. Any ideas?

Up next is Postfix and, hopefully, IPVS Instance (not sure it can be done without scripts or writing an agent plugin, though. I haven’t done it yet).